8. Complete Your Profile (Supplementary Settings)
Still on the home screen (Dashboard), after the initial brand settings, the user will notice a field with a percentage and the message "Complete your registration!".
This is an optional step, but highly recommended, as having your brand's profile complete helps the Artificial Intelligence generate even more targeted and professional posts. To proceed and finalize the settings, the user must click on the "Complete Profile" button.

8.1. Text Source Configuration (Typography)
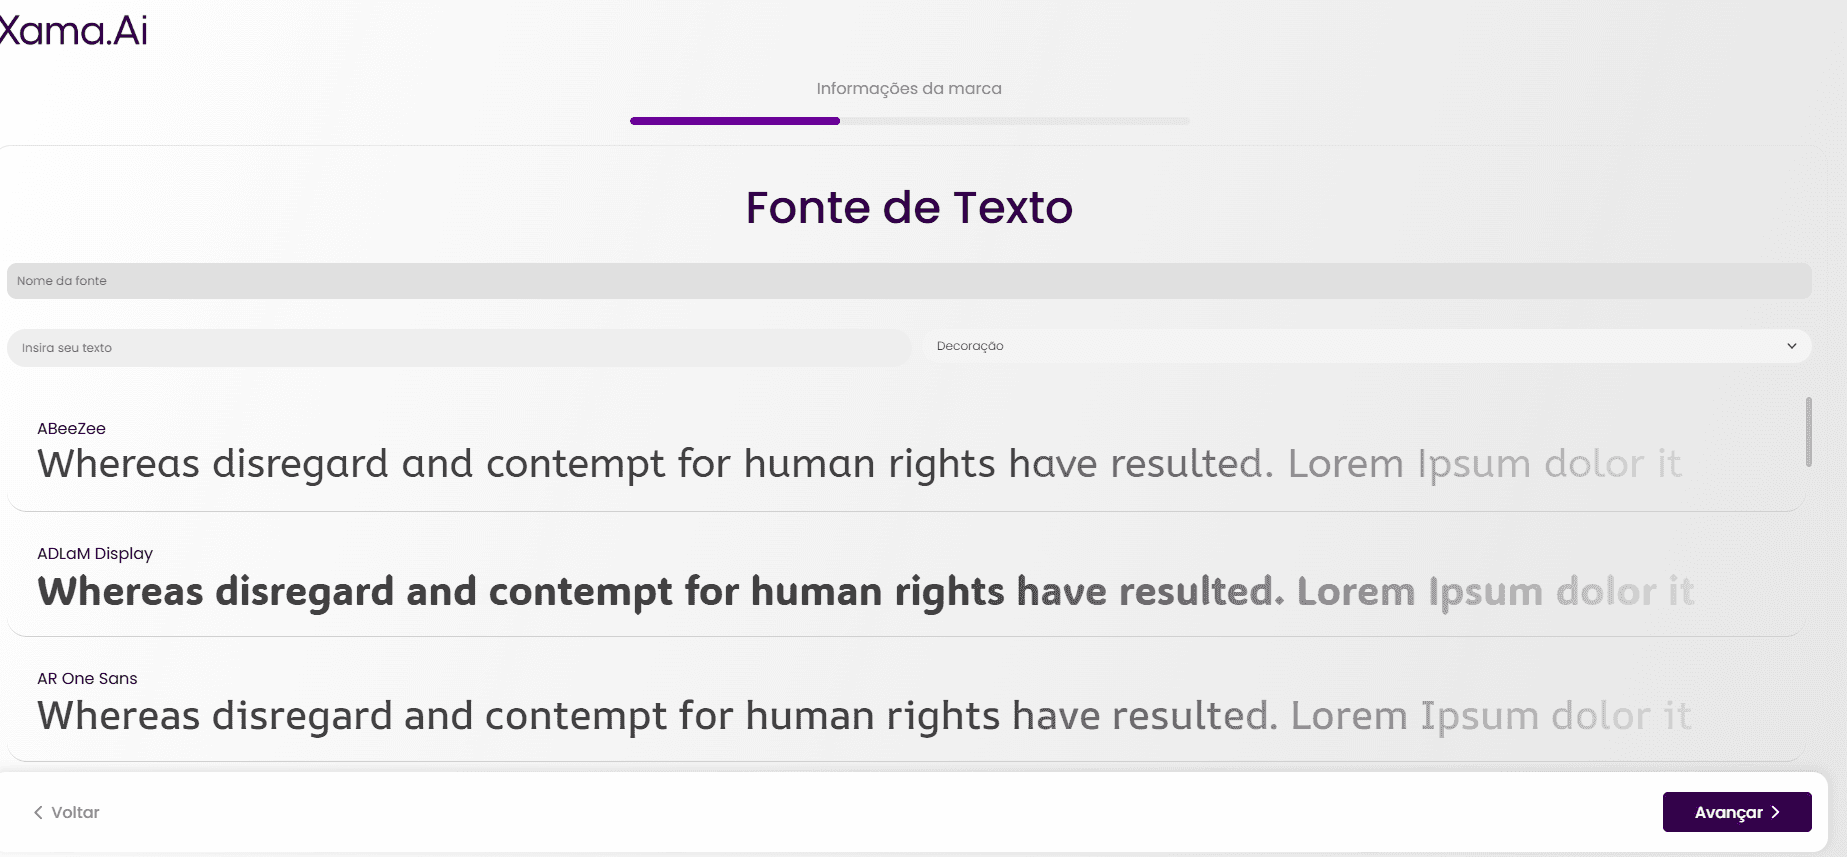
When clicking on "Complete Profile", the user will be directed to the "Text Source" section, where they can define the fonts for their publications.
In this step, the user can search for a specific font by typing the name in the "Font Name" field and then writing a sample text in the "Enter your text" field to see how it will appear in the different font options. This is particularly useful if the brand already has a defined font for its communications.
The system will present various font options, each with its corresponding visual representation in the text below the font name.
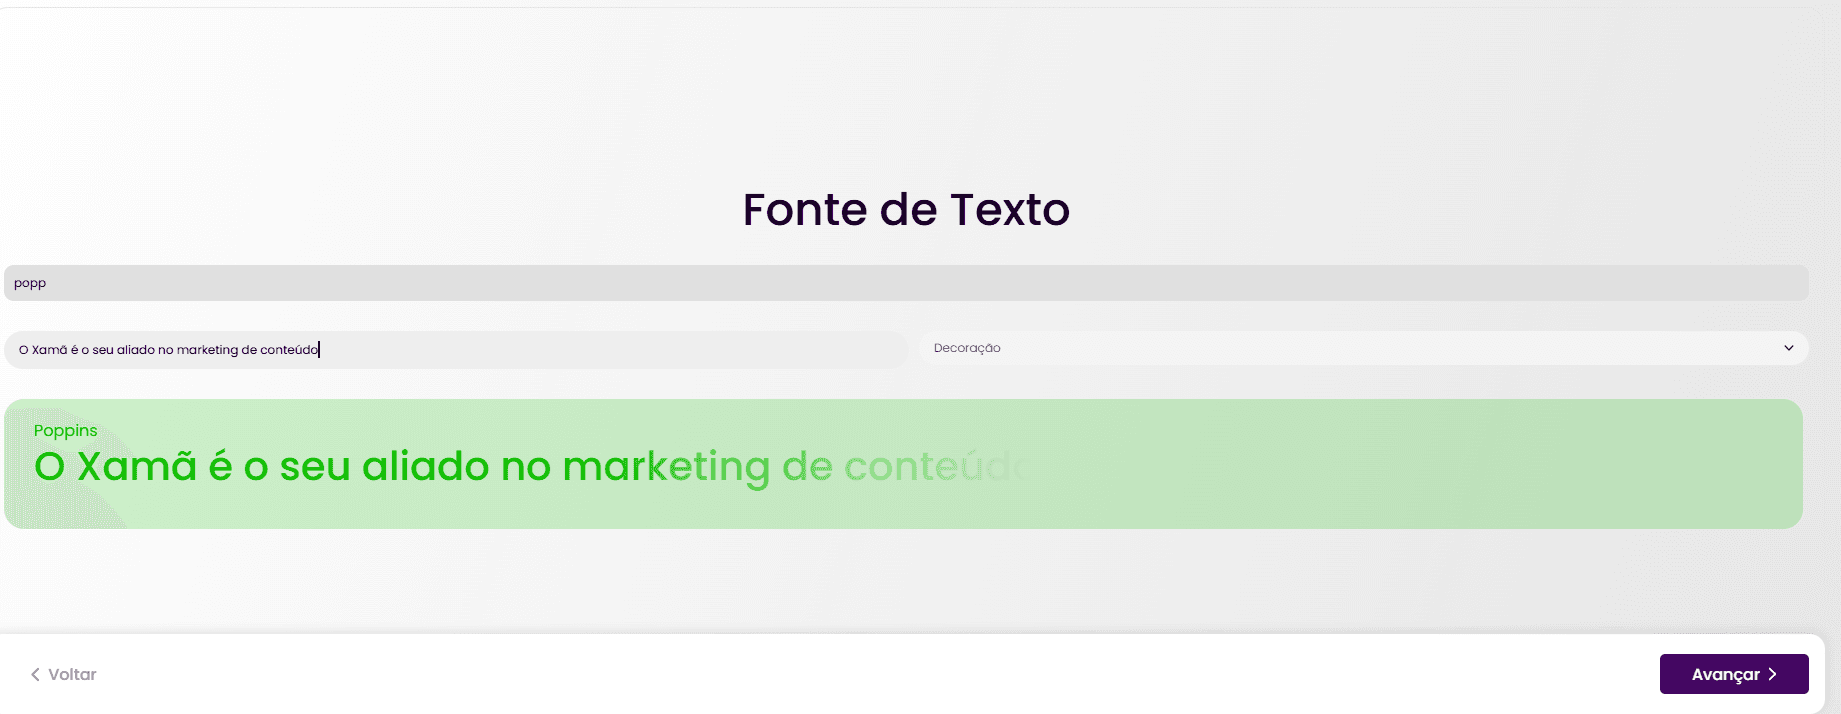
To select a font, the user must click on the desired font. The selected font will turn green, indicating that it has been chosen.
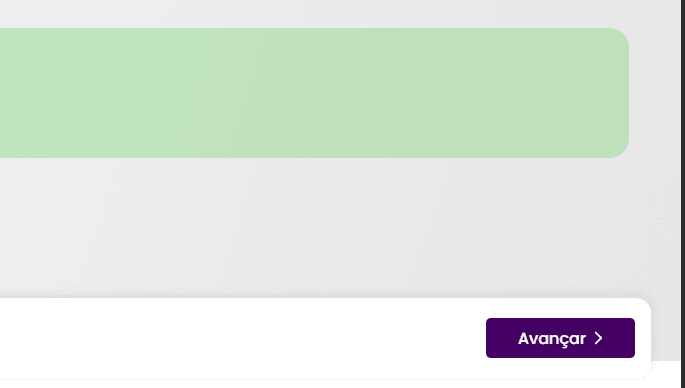
After selecting the font, the user must click on "Next" to continue editing their profile.
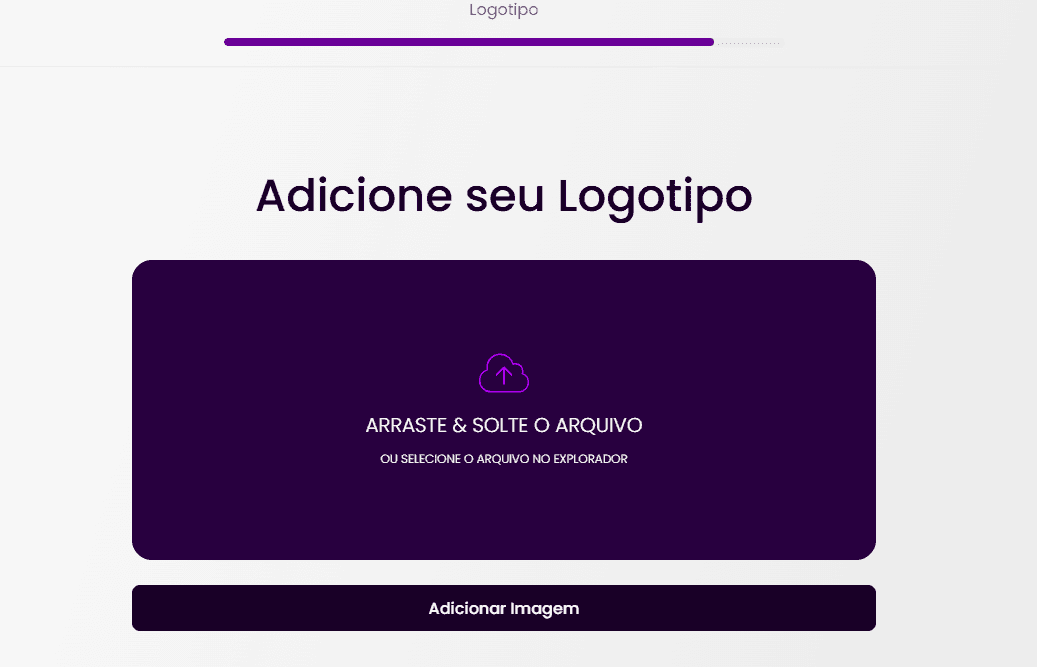
8.2. Upload the Brand Logo
Next, the user can add their brand logo. This is the "Add Your Logo" step. The file formats .jpg and .png are accepted.
We suggest that the dimensions of your logo file be square or horizontal. Additionally, it is highly recommended that the file has a high resolution to improve the quality of your logo application in the generated designs.
To upload, click on the "Add Image" button and select the brand logo from your files, or drag and drop the file directly into the appropriate area.
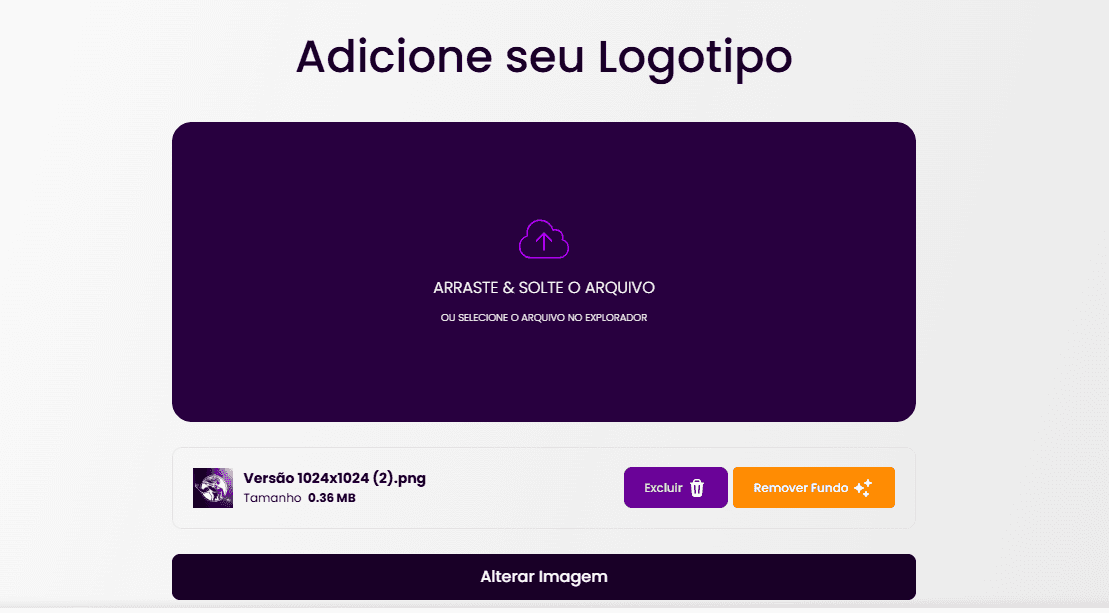
After the upload, check that the correct file has been added. You will see a preview of the image and its name/size. The user can also remove the background of the logo with the help of Artificial Intelligence by clicking on "Remove Background".
If you need to change the image after the initial upload, use the "Change Image" button.
After adding the logo, the user has completed the profile completion step. To proceed, click on "Next".