5. Complete Post with AI
Upon finalizing the brand settings, the user will be directed to the new home screen. On this screen, they can choose to create a guided post by the system (if available) or start creating without an initial tutorial.
5.1. Selection of Images for the Publication
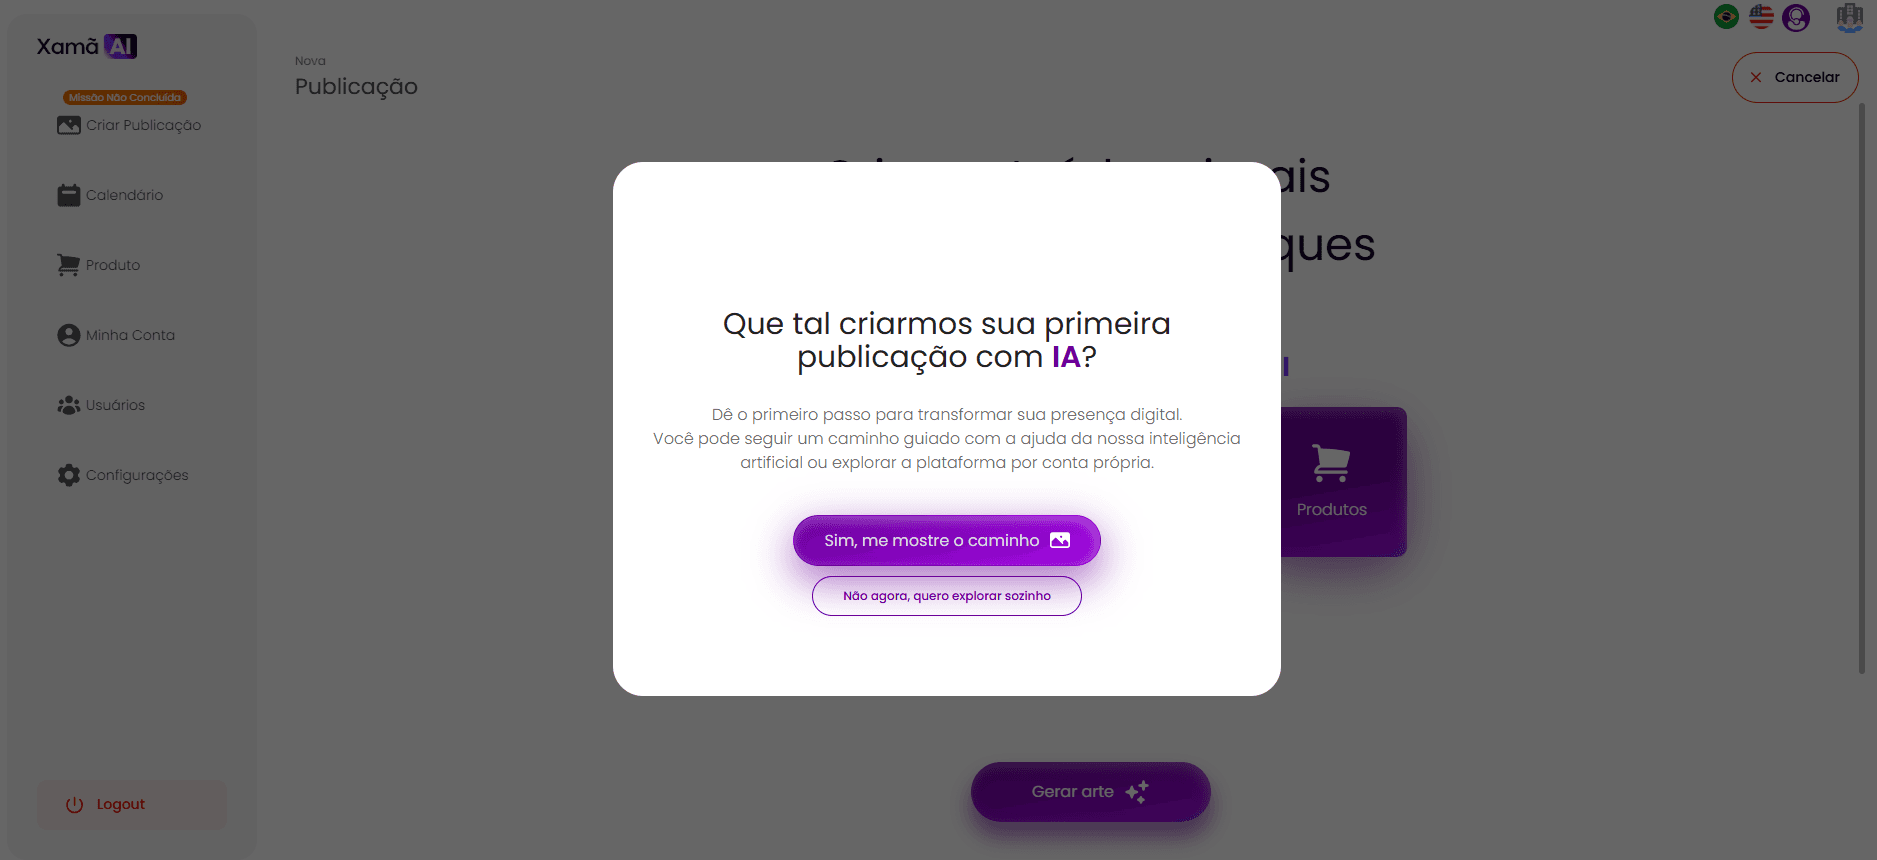
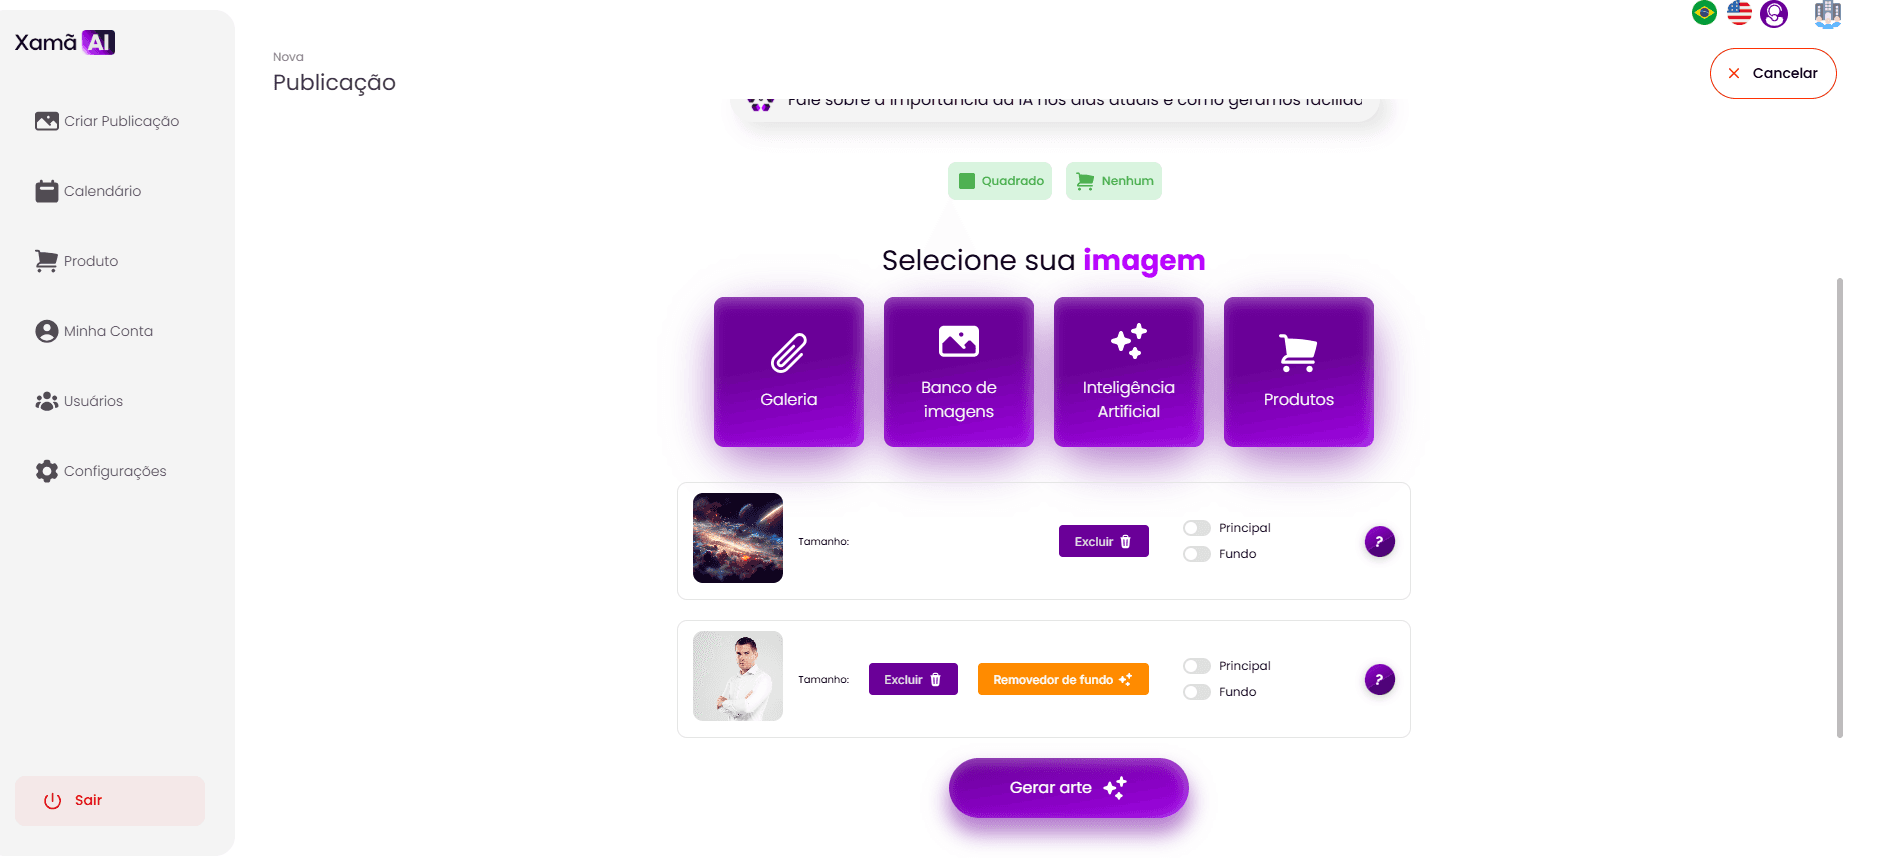
When starting to create a new publication, you will be directed to a screen where you must select the main image for your artwork.
In this first version of the flow, there are no command options for the AI at this phase; you should only add images from one of these four options:
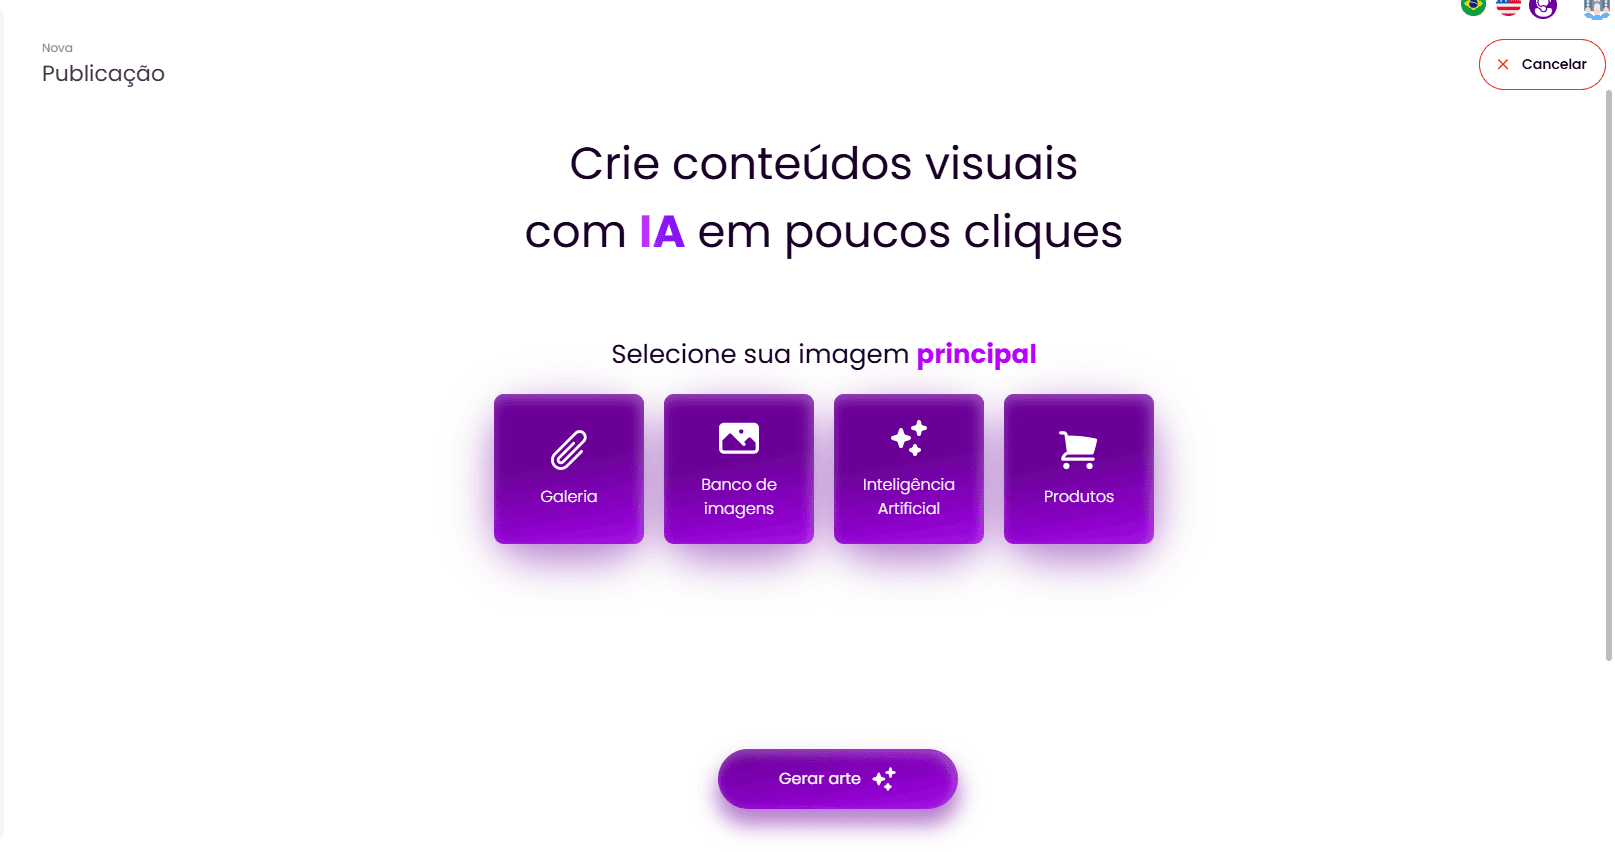
Gallery: Select this option to upload an image directly from your personal files. Remember that these images will be used as elements in the artwork, so choose high-quality images and avoid uploading finished artworks.
When you click on "Gallery", a pop-up titled "Upload elements" will be displayed. You can drag and drop the file into the marked area or click to select it in the file explorer.
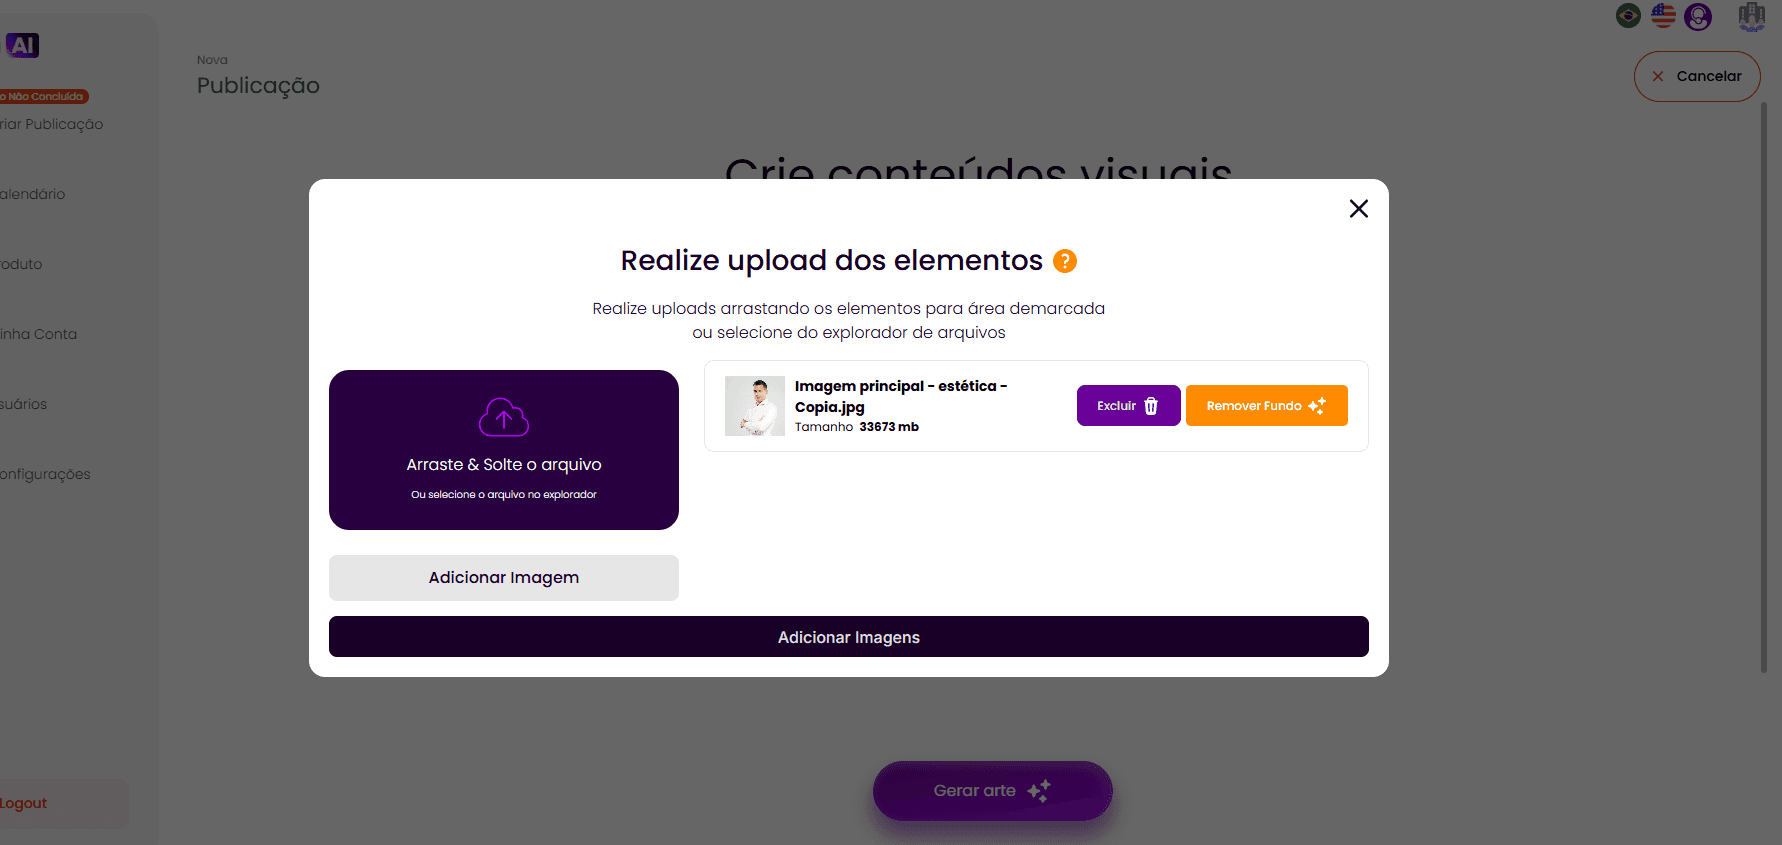
After the upload, check if the selected image is correct. You can see the preview and information such as the file's name and size. You can also automatically remove the background from the image with the help of Artificial Intelligence by clicking on "Remove Background". If you do not do this, the AI may automatically crop the background if it deems necessary for the best artwork.
To add the image to your selection, click on "Add Images".
Image Bank: Select this option to choose an image from our vast collection of images.
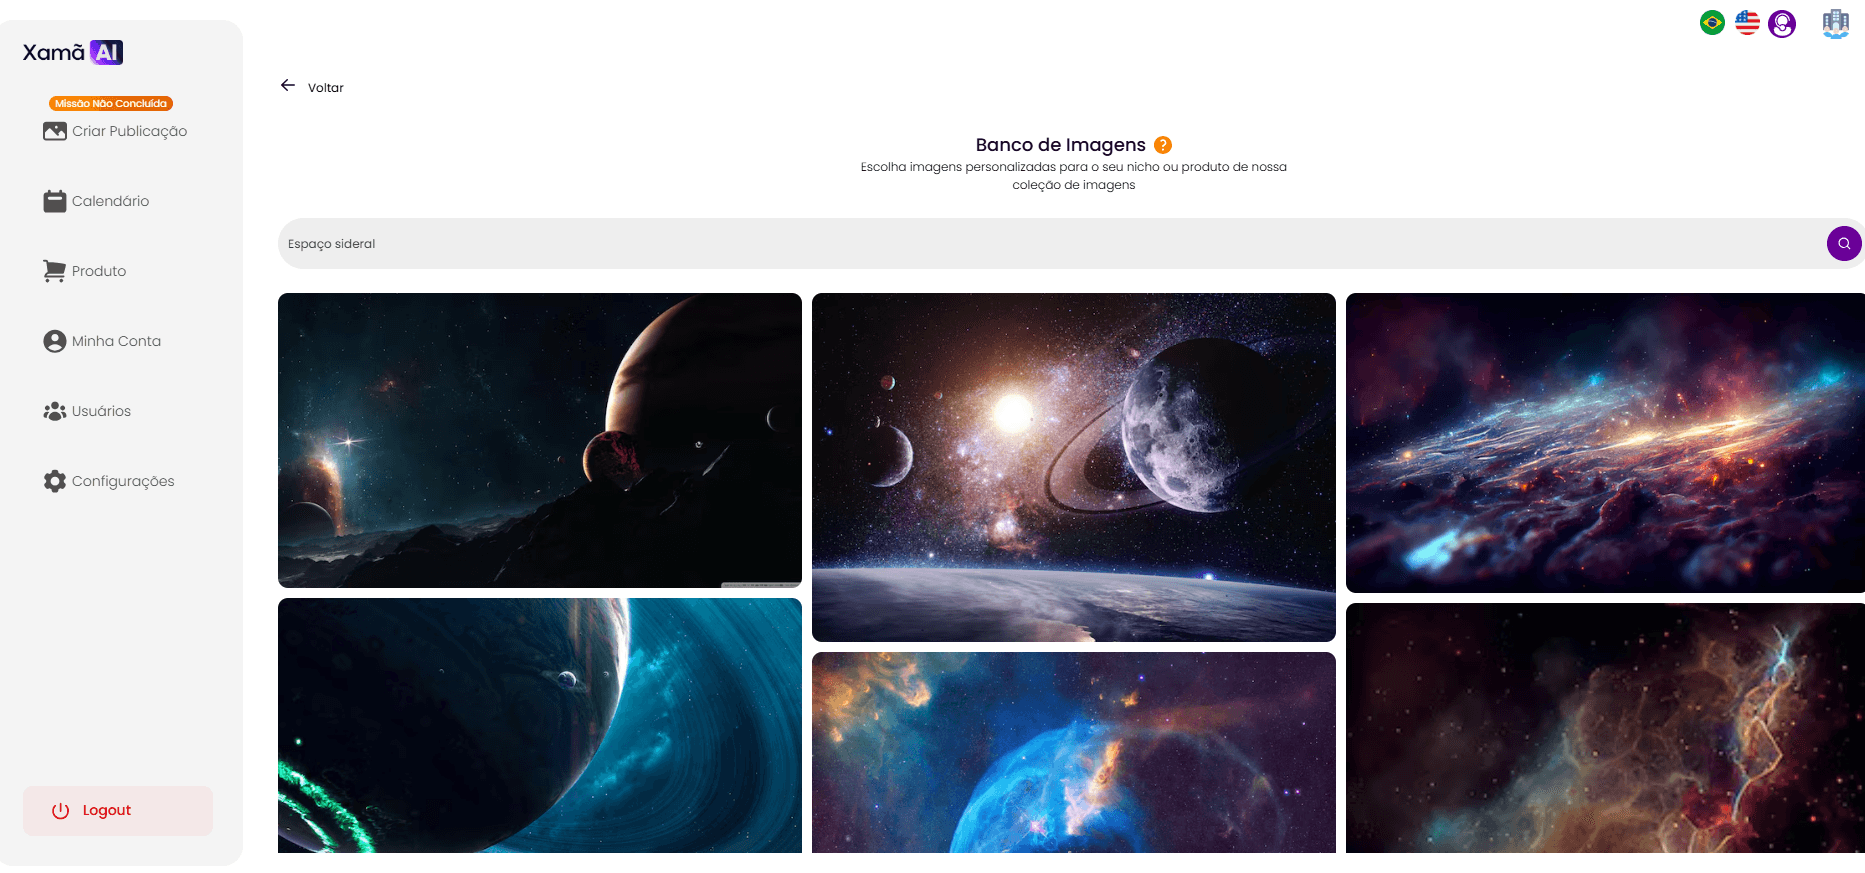
You will be directed to a search screen. In the search field, enter a command with a few words about what you are looking for (for example, "outer space") and press Enter or click on the magnifying glass to search.
Explore the results and click on the image that best fits your idea to select it.
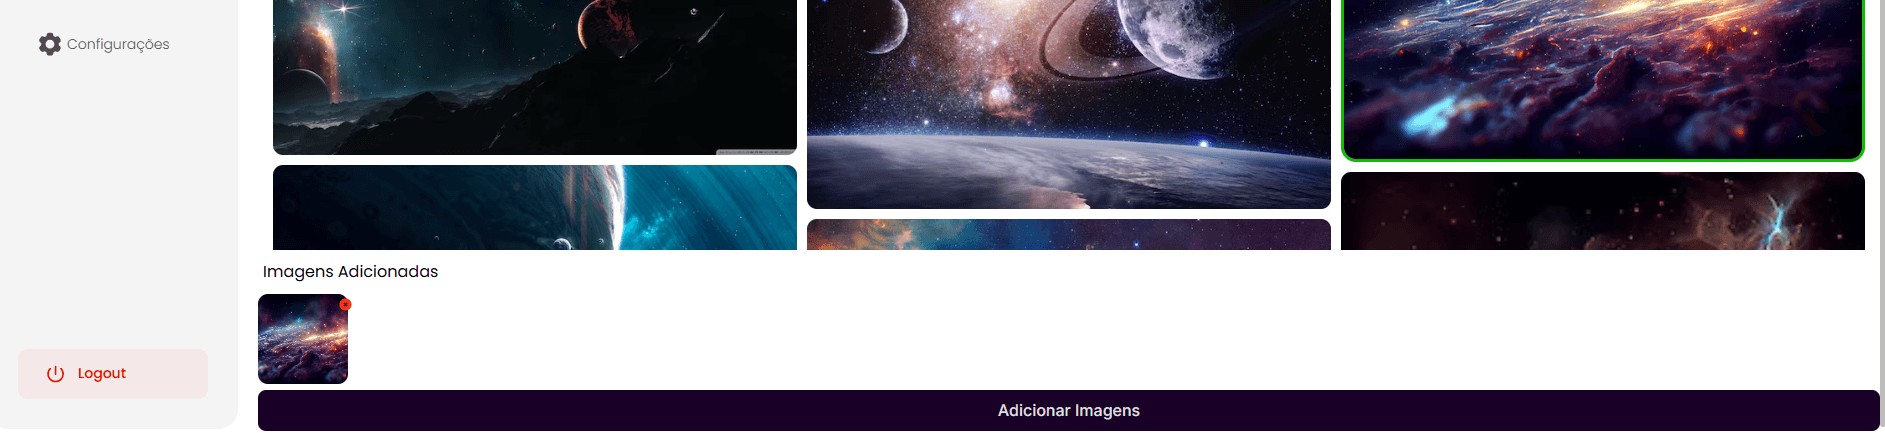
The selected image will appear at the bottom of the screen, in the section "Added Images". You can add more than one image at a time by clicking on other images or searching for new terms.
Click on "Add Images" to save your selection and proceed.
Artificial Intelligence: By clicking on this icon, you can request that the AI generate an image that fits your artwork.
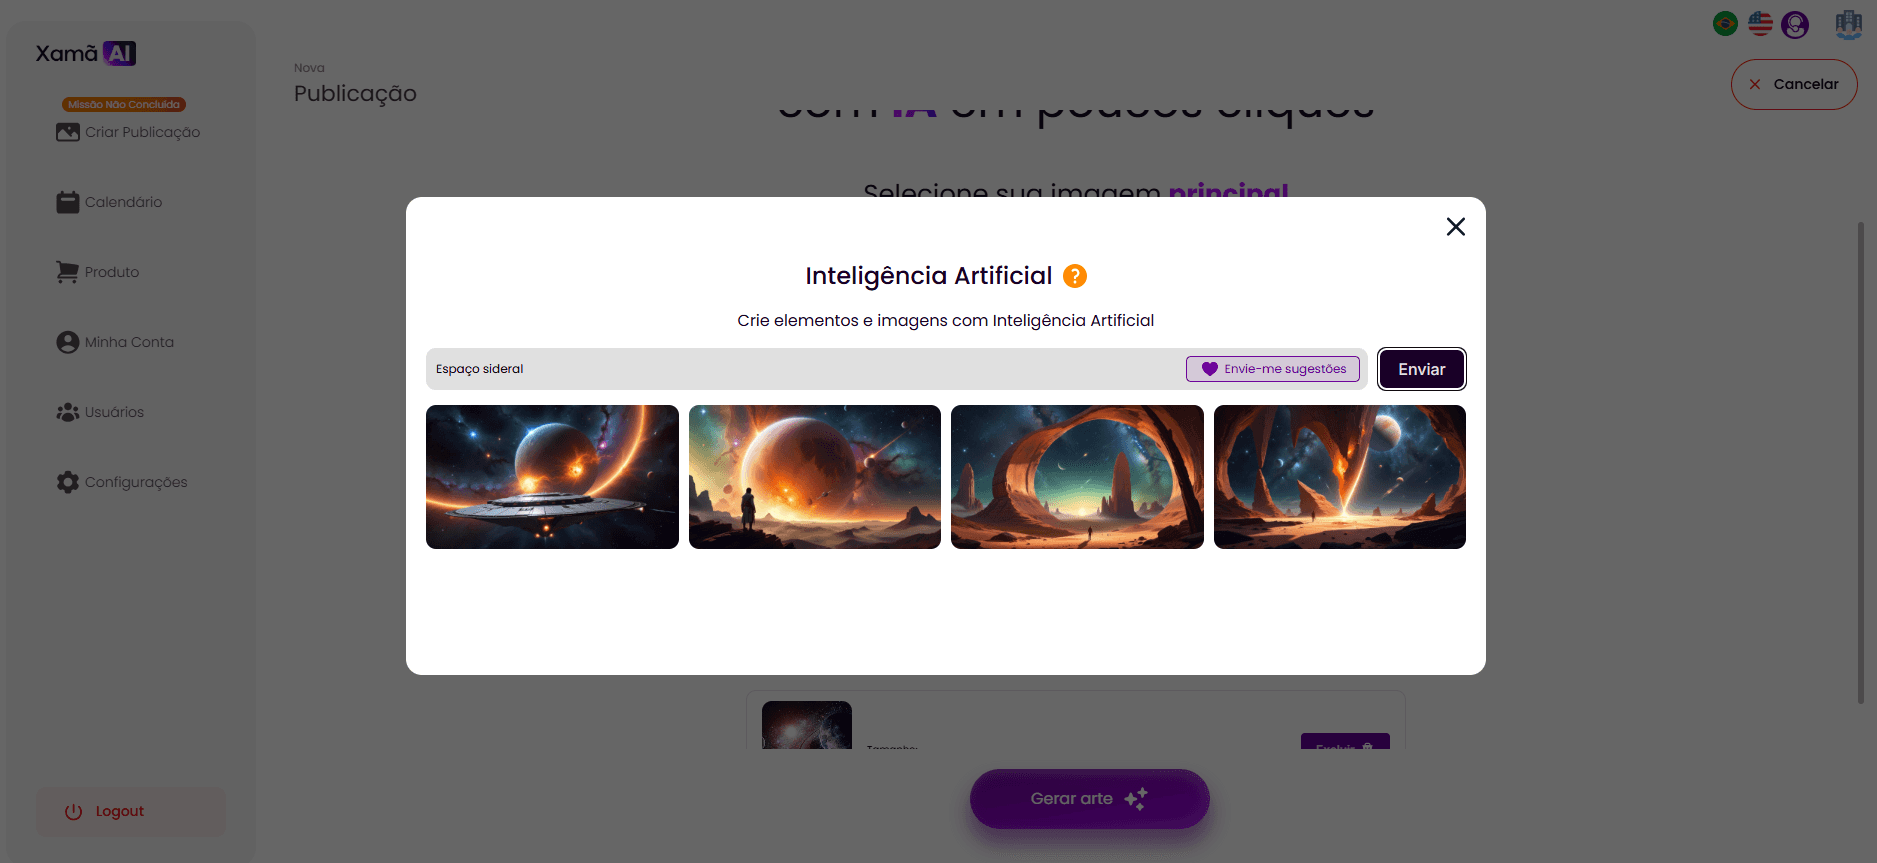
In the text field, describe in a few words what you need the AI to create (for example, "Outer space"). Click on "Send" for the image to be generated.
The generated images will appear on the screen. You can select the one you prefer by clicking on the image. Just like in the image bank option, the selected images will remain in the "selected images" field.
Products: Select this option to extract and use images from products you have previously registered on the platform.
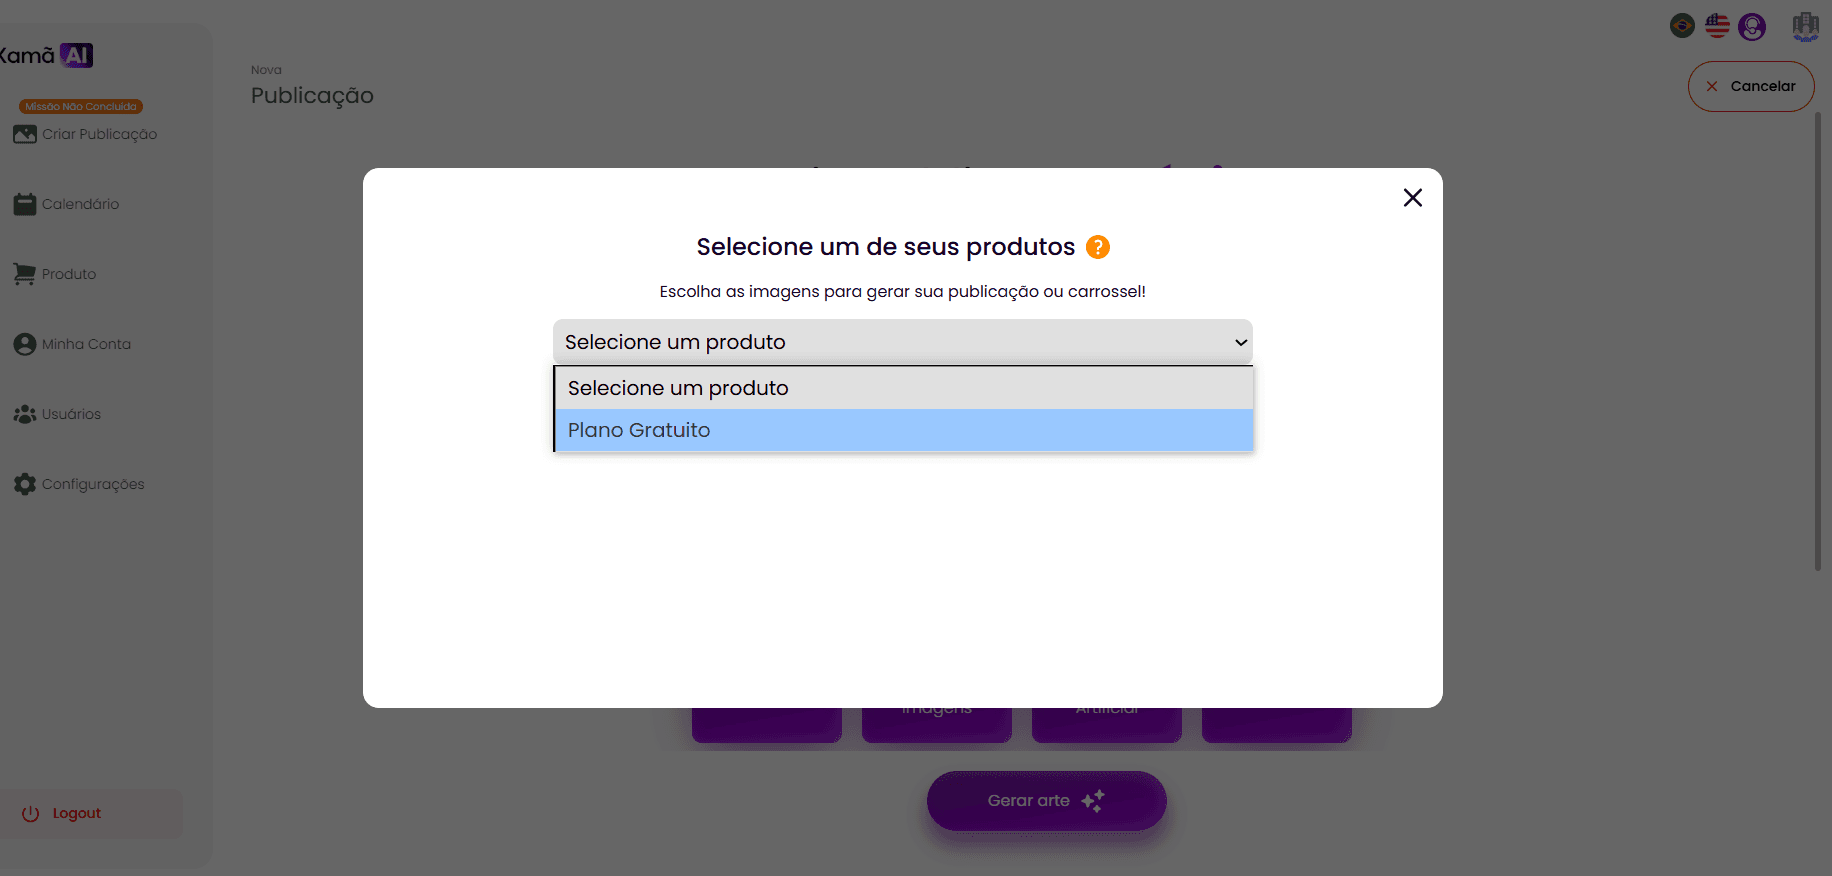
Upon selecting this option, a pop-up titled "Select one of your products" will be displayed. In the drop-down menu, choose the desired product.
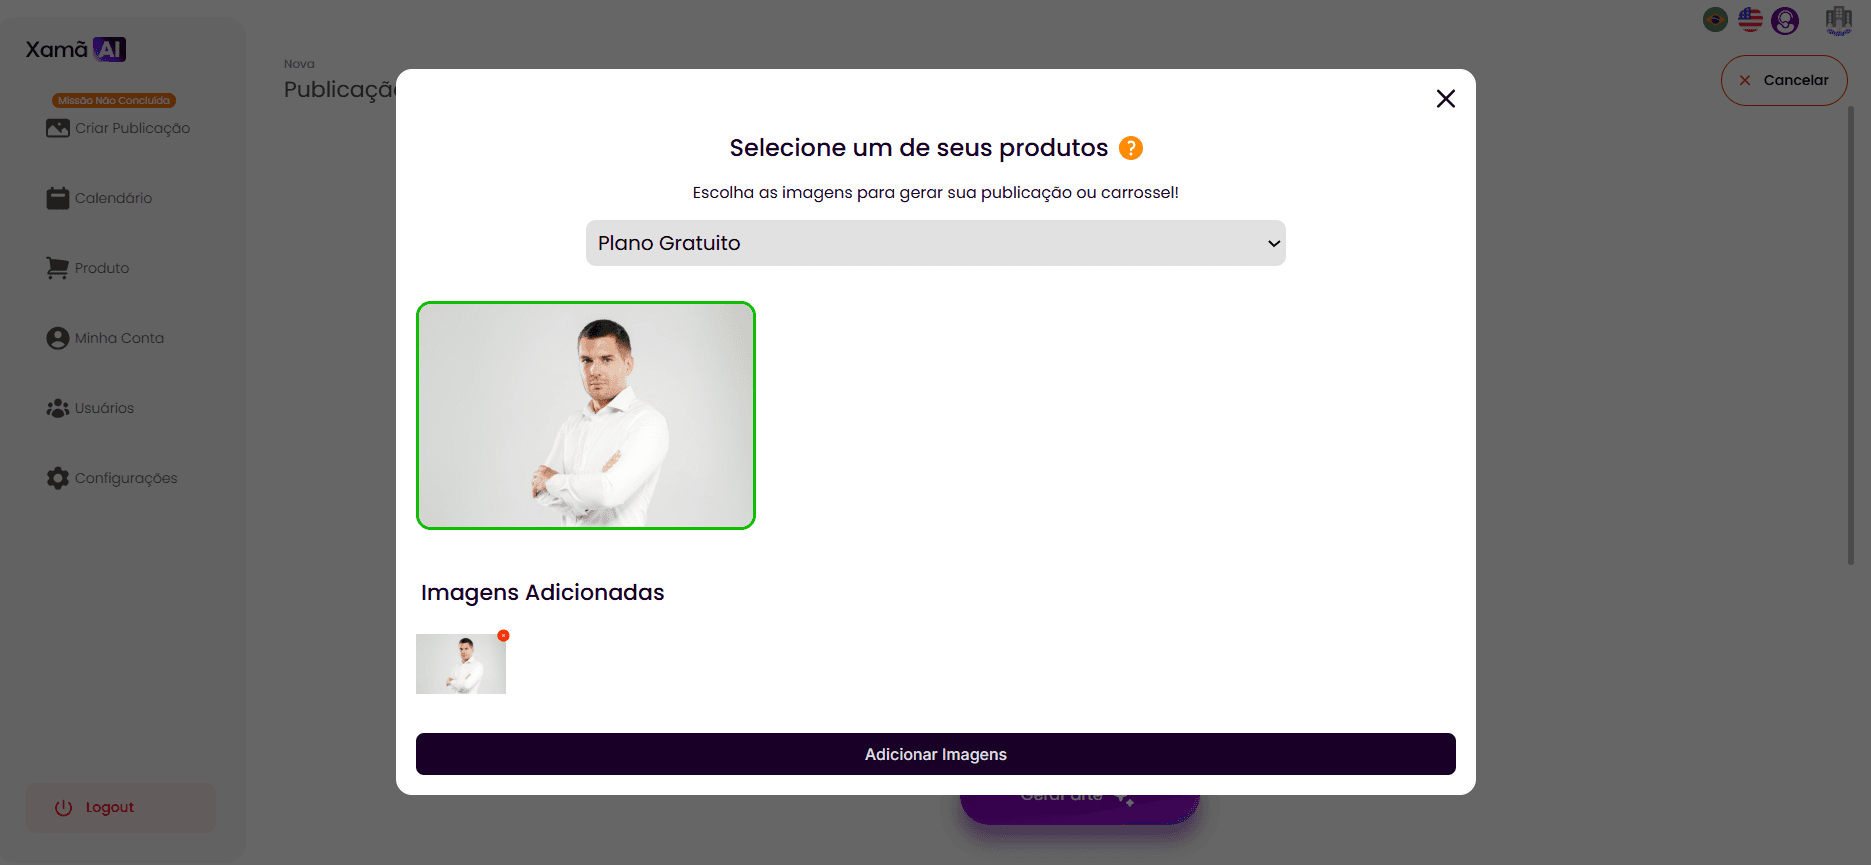
Once the product is selected, the images assigned to it will be displayed.
Select the images you wish to use in your publication.
To add the images, click on "Add Images".
5.2. Definition of Format and Type of Publication (From the Second Generation)
In the second generation of publications, the system offers greater flexibility and command options for Artificial Intelligence.
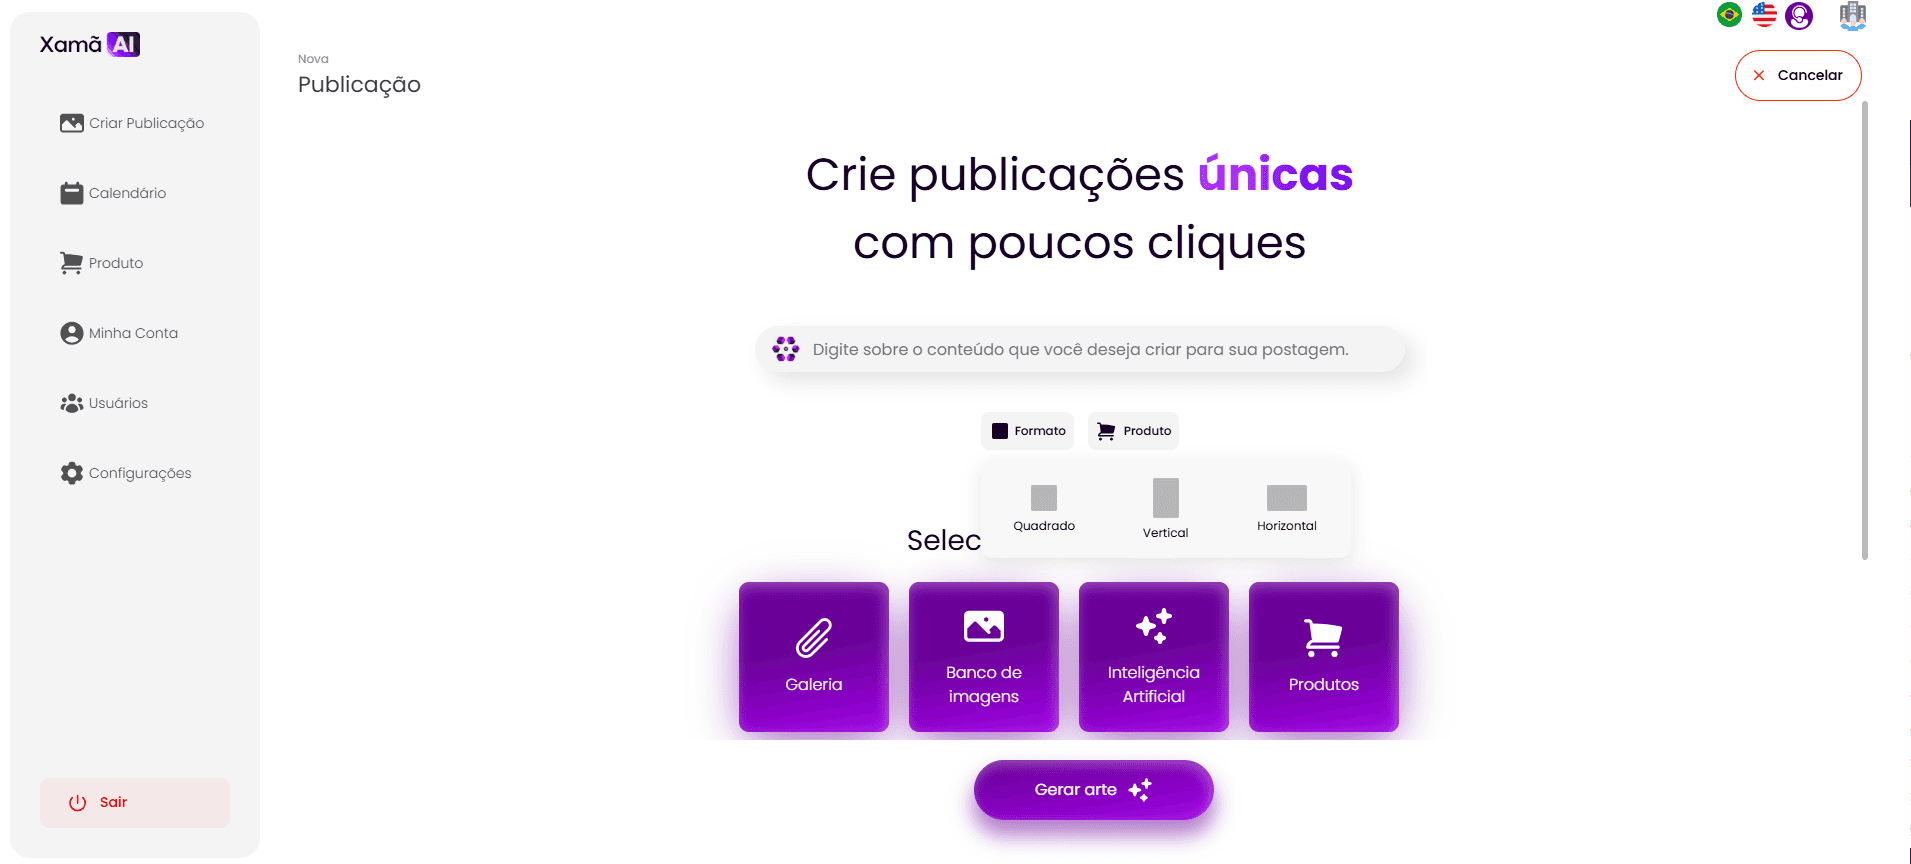
You should start by typing about the content you want for your post in the command field. Here, you can give a more specific command to the AI.
Examples of commands:
"Create a post about the importance of digital marketing for small businesses."
"Develop a post about the benefits of healthy eating focusing on children."
"Generate an artwork to promote a new financial consulting service, highlighting safety and growth."
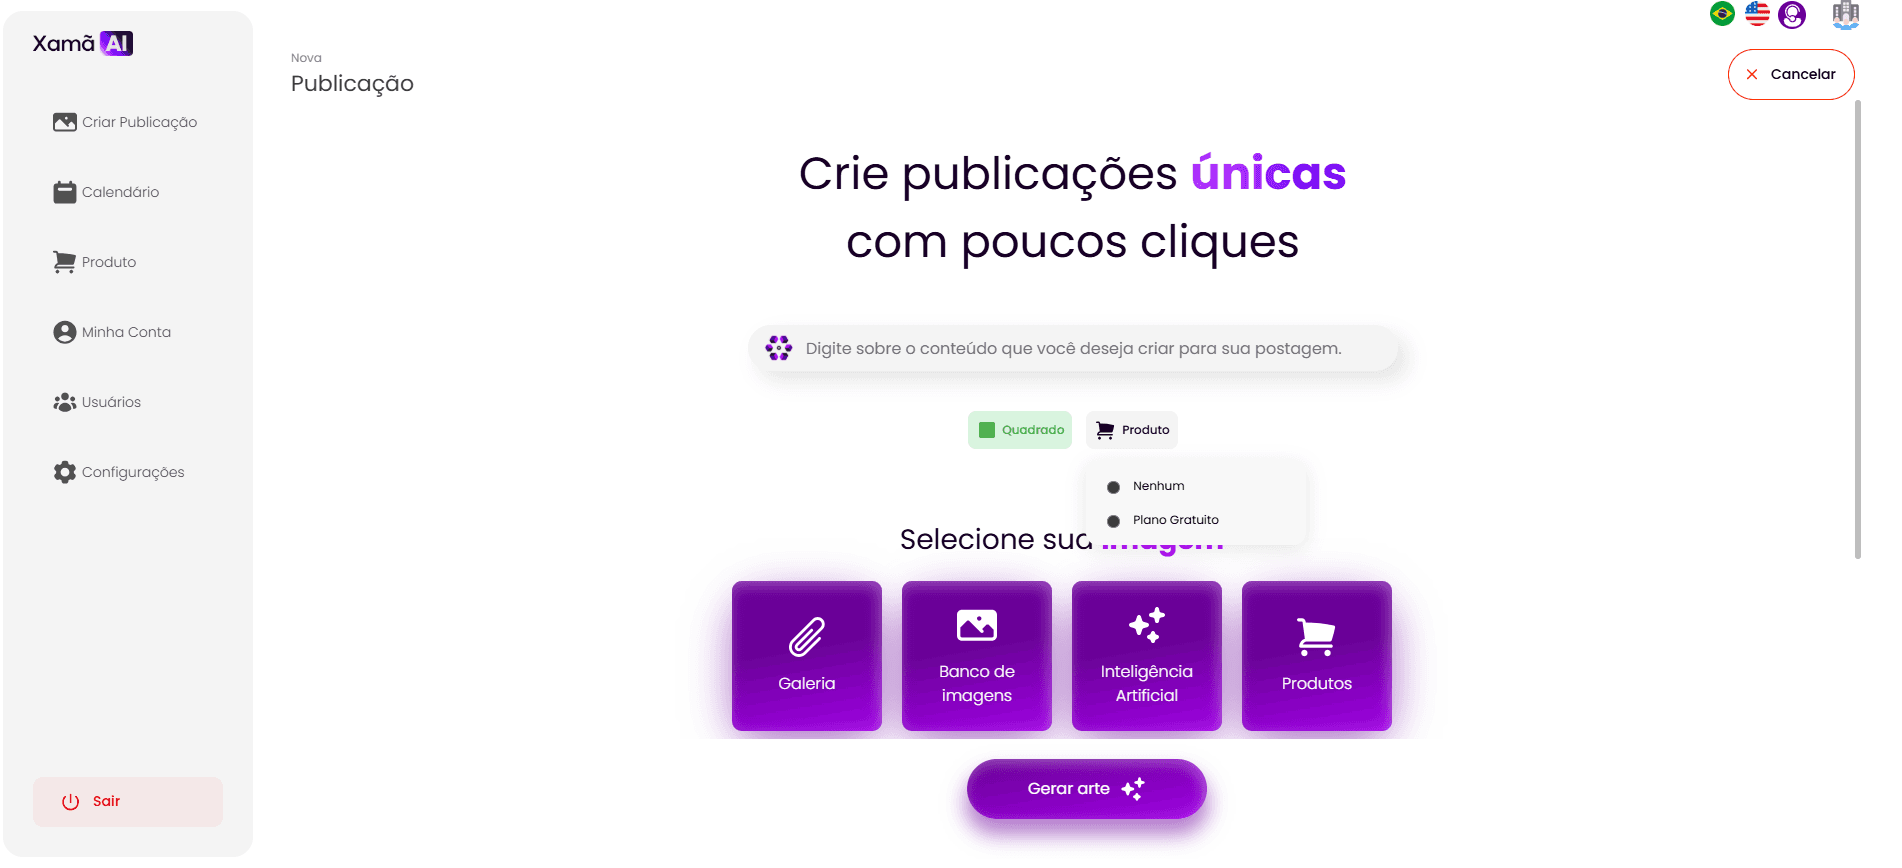
Next, select the format of your publication from the options "Square", "Vertical", or "Horizontal".
Furthermore, if you want to promote a specific product in this publication, you can choose to select a previously registered product. (A future section in the tutorial will cover the registration of products in detail). If the publication is not meant to promote a specific product, select "None".
5.3. Categorization of Images and Generation of Artwork
After selecting the images, you must define the category for each of them. We currently have two category options: "Main" and "Background".
The categories of images are a guide that will determine where your image will be placed, that is, which space the element will be inserted into the artwork.
Example: If you select only one image and choose the "Main" category, that element will always occupy the main space in the generated artworks.
If you do not select images to occupy all categories (main, complementary, or background), the Artificial Intelligence will be responsible for inserting elements into the categories that remain empty.

After defining the categories of the images, click the "Generate artwork" button for the Artificial Intelligence to start creating the design of your publication.
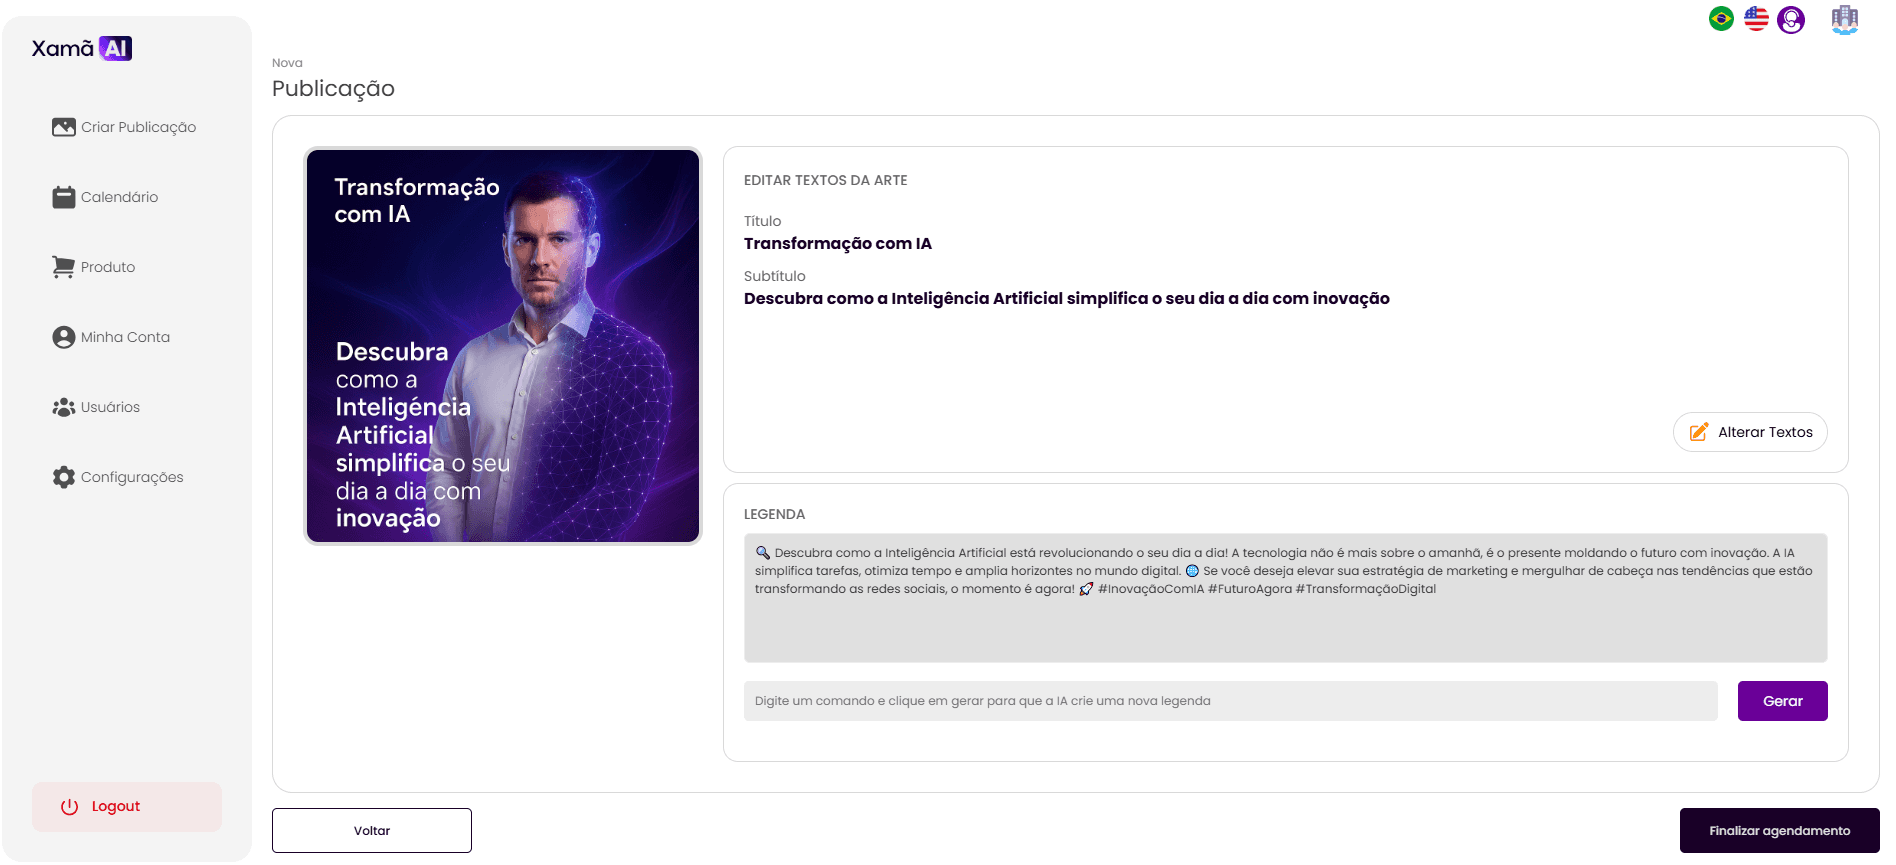
5.4. Review and Edit of Artwork and Caption
After loading, the artwork will be rendered on the screen, already accompanied by the caption automatically generated by the AI.
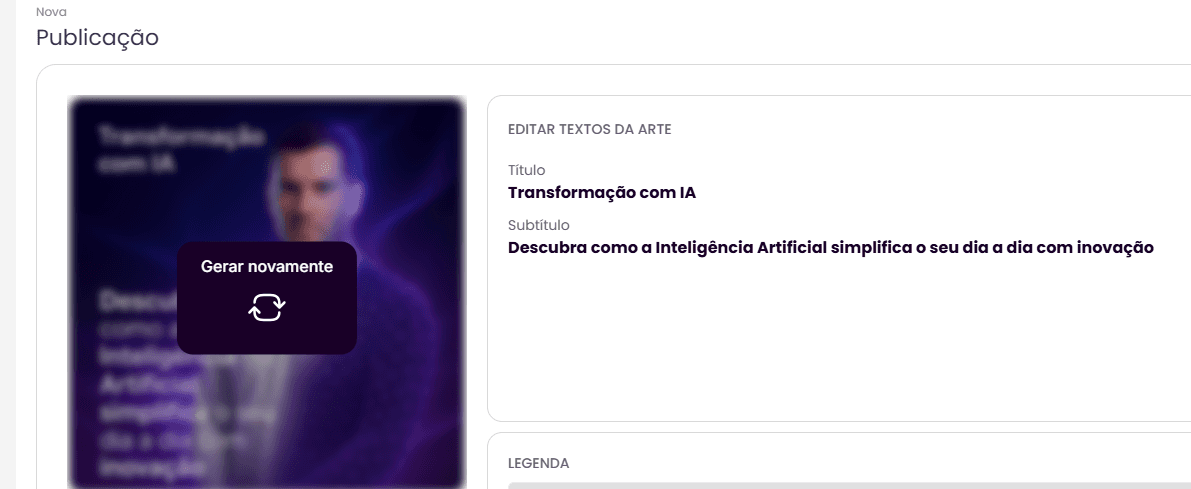
Regenerate Artwork: If the generated artwork does not fully meet your expectations, you can request the creation of a new version. By moving the cursor over the artwork, an option labeled "Regenerate" will appear. Clicking this option will generate a new artwork for your review.
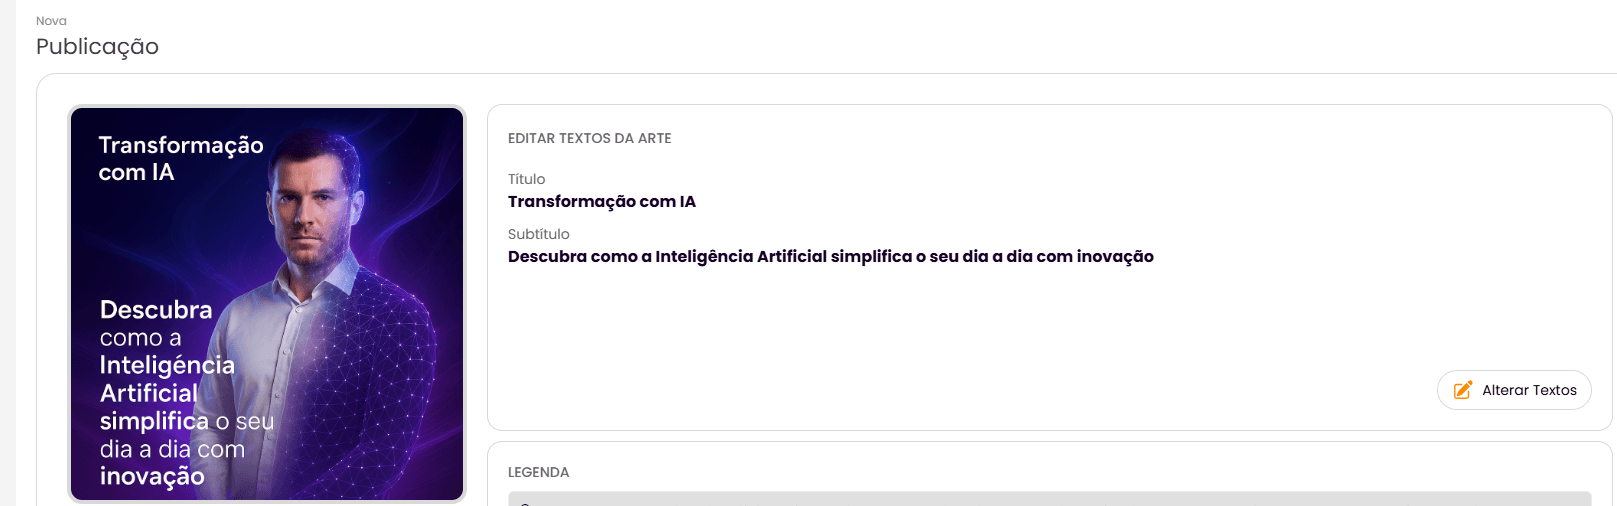
Edit Artwork Texts: You can also edit the texts present directly in the artwork. For this, click the "Change Texts" button.
Point of Attention: When choosing to change the texts of the artwork, it is important to note that modifications in the textual content can directly impact the final artwork. Visual adjustments in the layout may be necessary to maintain harmony.
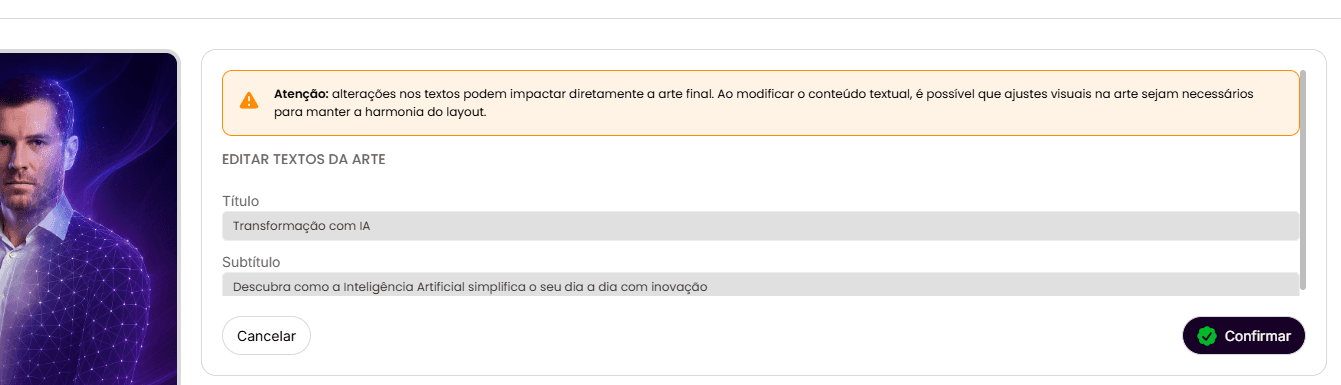
When you click on "Change Texts", an editor will open, allowing you to modify the title and subtitle of the artwork. After making the changes, click "Confirm" to save.
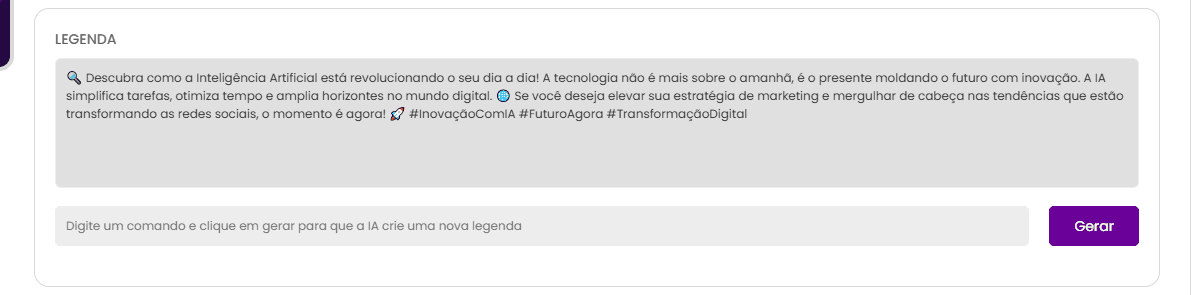
Edit or Regenerate Caption:
You can change the content of the automatically generated caption. Simply select the text box of the caption and type your modifications manually.
If you want a new caption suggestion from the Artificial Intelligence, type a command or the beginning of the desired paragraph in the smaller field and click "Generate". You can repeat this process as many times as you want (check plan limits) until you obtain a satisfactory caption.
After finalizing the changes (if necessary), click on "Finalize scheduling".